Introduction
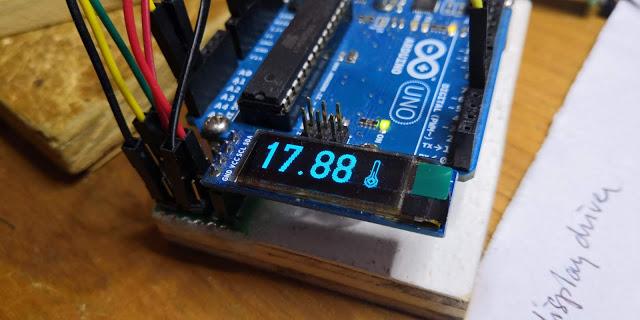
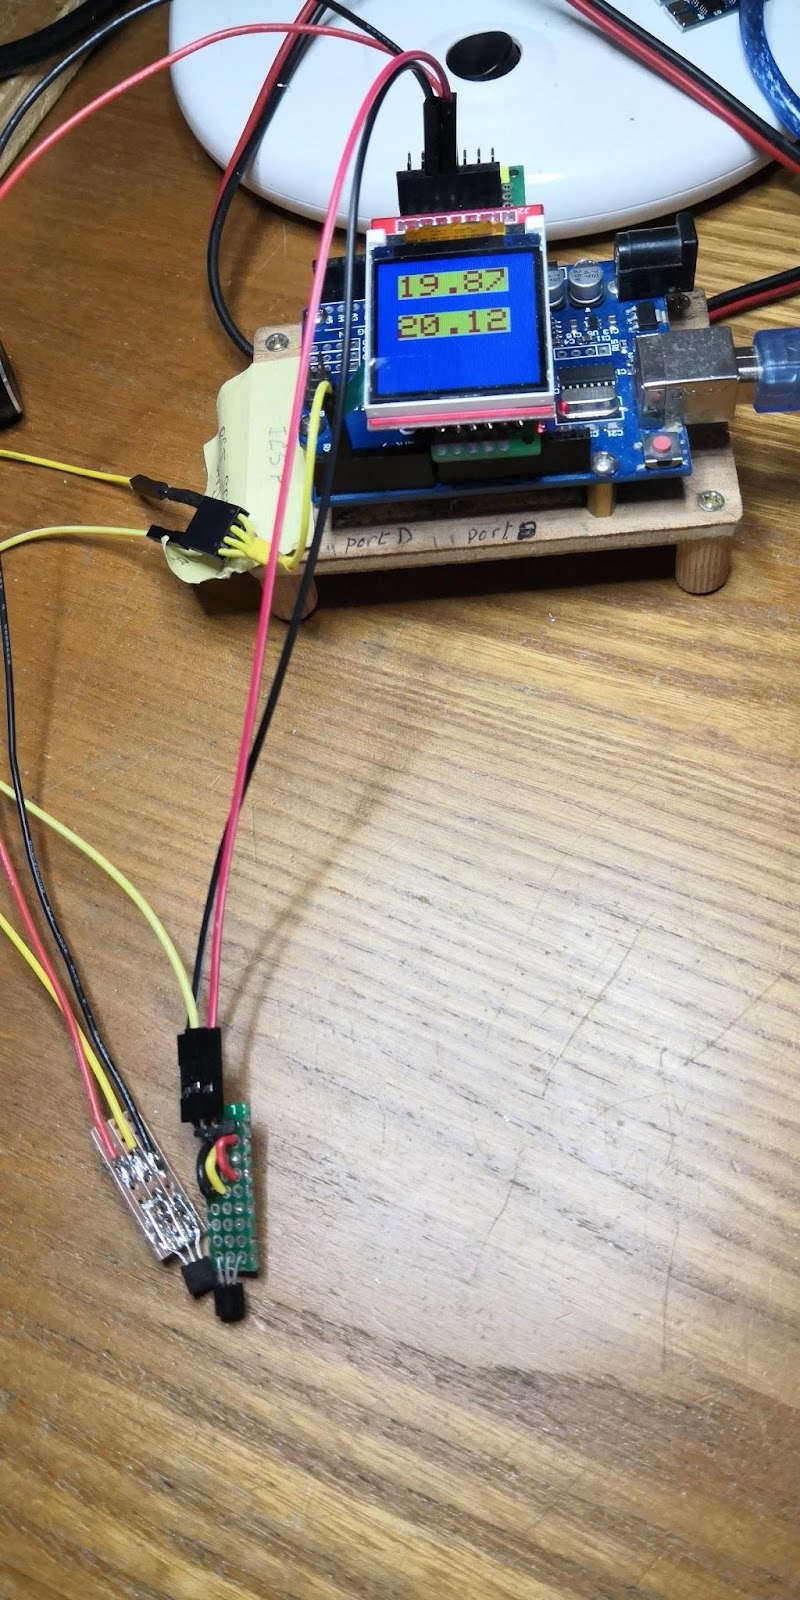
Sometimes it is just convenient to have 2 temperature sensors able to display at the same time the temperature measured at two different places. For instance when an electronic circuit is in a phase of testing you may want to check both ambiant and the temperature at a component you suspect to dissipate heat excessively. It is easy to connect 2 of the sensors DS18B20 on the same one wire Dallas bus. This is this property which is being demonstrated in this project. The display is a LCD TFT 1.44” 128x128 with SPI driver ILI9163 and used with the Arduino Adafruit GFX library.
For more details see previous blog
https://lazarduino.blogspot.com/2019/02/arduino-thermometer-with-oled-display.html
DS18B20 Sensor wiring

Arduino code
/******TFT_ILI9163C_2xDS18B20_SL02**************
* reads two DS18B20 temperature sensors
* displays the two temperatures value on TFT_ILI9163C
* slazare 2019 06 12
*/
#include <SPI.h>
#include <Adafruit_GFX.h>
#include <TFT_ILI9163C.h>
// Color definitions
#define BLACK 0x0000
#define BLUE 0x001F
#define RED 0xF800
#define GREEN 0x07E0
#define CYAN 0x07FF
#define MAGENTA 0xF81F
#define YELLOW 0xFFE0
#define WHITE 0xFFFF
#define __CS 10
#define __DC 9
TFT_ILI9163C tft = TFT_ILI9163C(__CS, 8, __DC);
#include <OneWire.h> //Librairie du bus OneWire
#include <DallasTemperature.h> //Librairie du capteur
float temp = 25.36; //variable température
OneWire oneWire(2); //Bus One Wire sur la pin 2 de l'arduino
DallasTemperature sensors(&oneWire); //Utilisation du bus Onewire pour les capteurs
DeviceAddress sensorDeviceAddress; //Vérifie la compatibilité des capteurs avec la librairie
//Global.......................................
static unsigned gLastMicro = 0; //Micro Ticker last Time ref
static unsigned gLastMilli = 0; //Milli Ticker last Time ref
float gLasttemp1 = 0; //reference temperature
float gLasttemp2 = 0;
float temp1 = 0;
float temp2 = 0;
unsigned int gperiod = 100;
void drawNum1() {
tft.fillRect(18,14,90,24,YELLOW);
tft.setCursor(18, 15);
tft.setTextColor(RED);
tft.setTextSize(3);
tft.println(temp1);
//tft.display(true);
// Serial.print("temperature: ");
// Serial.print(temp1); //imprime la température en celsius du capteur 0
// Serial.println(" C");
}
void drawNum2() {
tft.fillRect(18,54,90,24,YELLOW);
tft.setCursor(18, 55);
tft.setTextColor(RED);
tft.setTextSize(3);
tft.println(temp2);
//tft.display(true);
// Serial.print("temperature: ");
// Serial.print(temp2); //imprime la température en celsius du capteur 0
// Serial.println(" C");
}
void readTempSensor1() {
sensors.requestTemperatures(); //Demande la température aux capteurs
temp1 = sensors.getTempCByIndex(0);
}
void readTempSensor2() {
sensors.requestTemperatures(); //Demande la température aux capteurs
temp2 = sensors.getTempCByIndex(1);
}
void setup() {
Serial.begin(9600); //Permet la communication en serial
sensors.begin(); //Activation des capteurs
sensors.getAddress(sensorDeviceAddress, 0); //Demande l'adresse du capteur à l'index 0 du bus
sensors.setResolution(sensorDeviceAddress, 12); //Résolutions possibles: 9,10,11,12
tft.begin();
tft.fillScreen(BLUE);
}
void loop(void) {
// ms Ticker ................................
unsigned long CurMilli=millis();
if (CurMilli > gLastMilli + gperiod){
gLastMilli=CurMilli;
readTempSensor1();
readTempSensor2();
if (temp1 != gLasttemp1) {
drawNum1();
gLasttemp1 = temp1;
}
if (temp2 != gLasttemp2) {
drawNum2();
gLasttemp2 = temp2;
}
} // end of milli ticker
}
******************************************************************************